Custom markdown extensions with Remark and HAST handlers
Markdown is all the rage these days.
A simple text format for rich documents, you see it everywhere from GitHub issues to Slack messages. Even Facebook supports it in their business version. Soon their pleb version too, I hear.
With the rise of Gatsby and other static site builders, markdown is an increasingly popular choice for text-heavy webapps. Write content in Markdown, parse and render to React or HTML.
Easy to build the layout, easy to write the content. Perfect 👌
Markdown for content-heavy apps is what I wanna talk about today. Because I discovered how you can make markdown do anything you want. Anything. It's amazing.
I use markdown to write these letters. And my blogs. And my workshop materials.
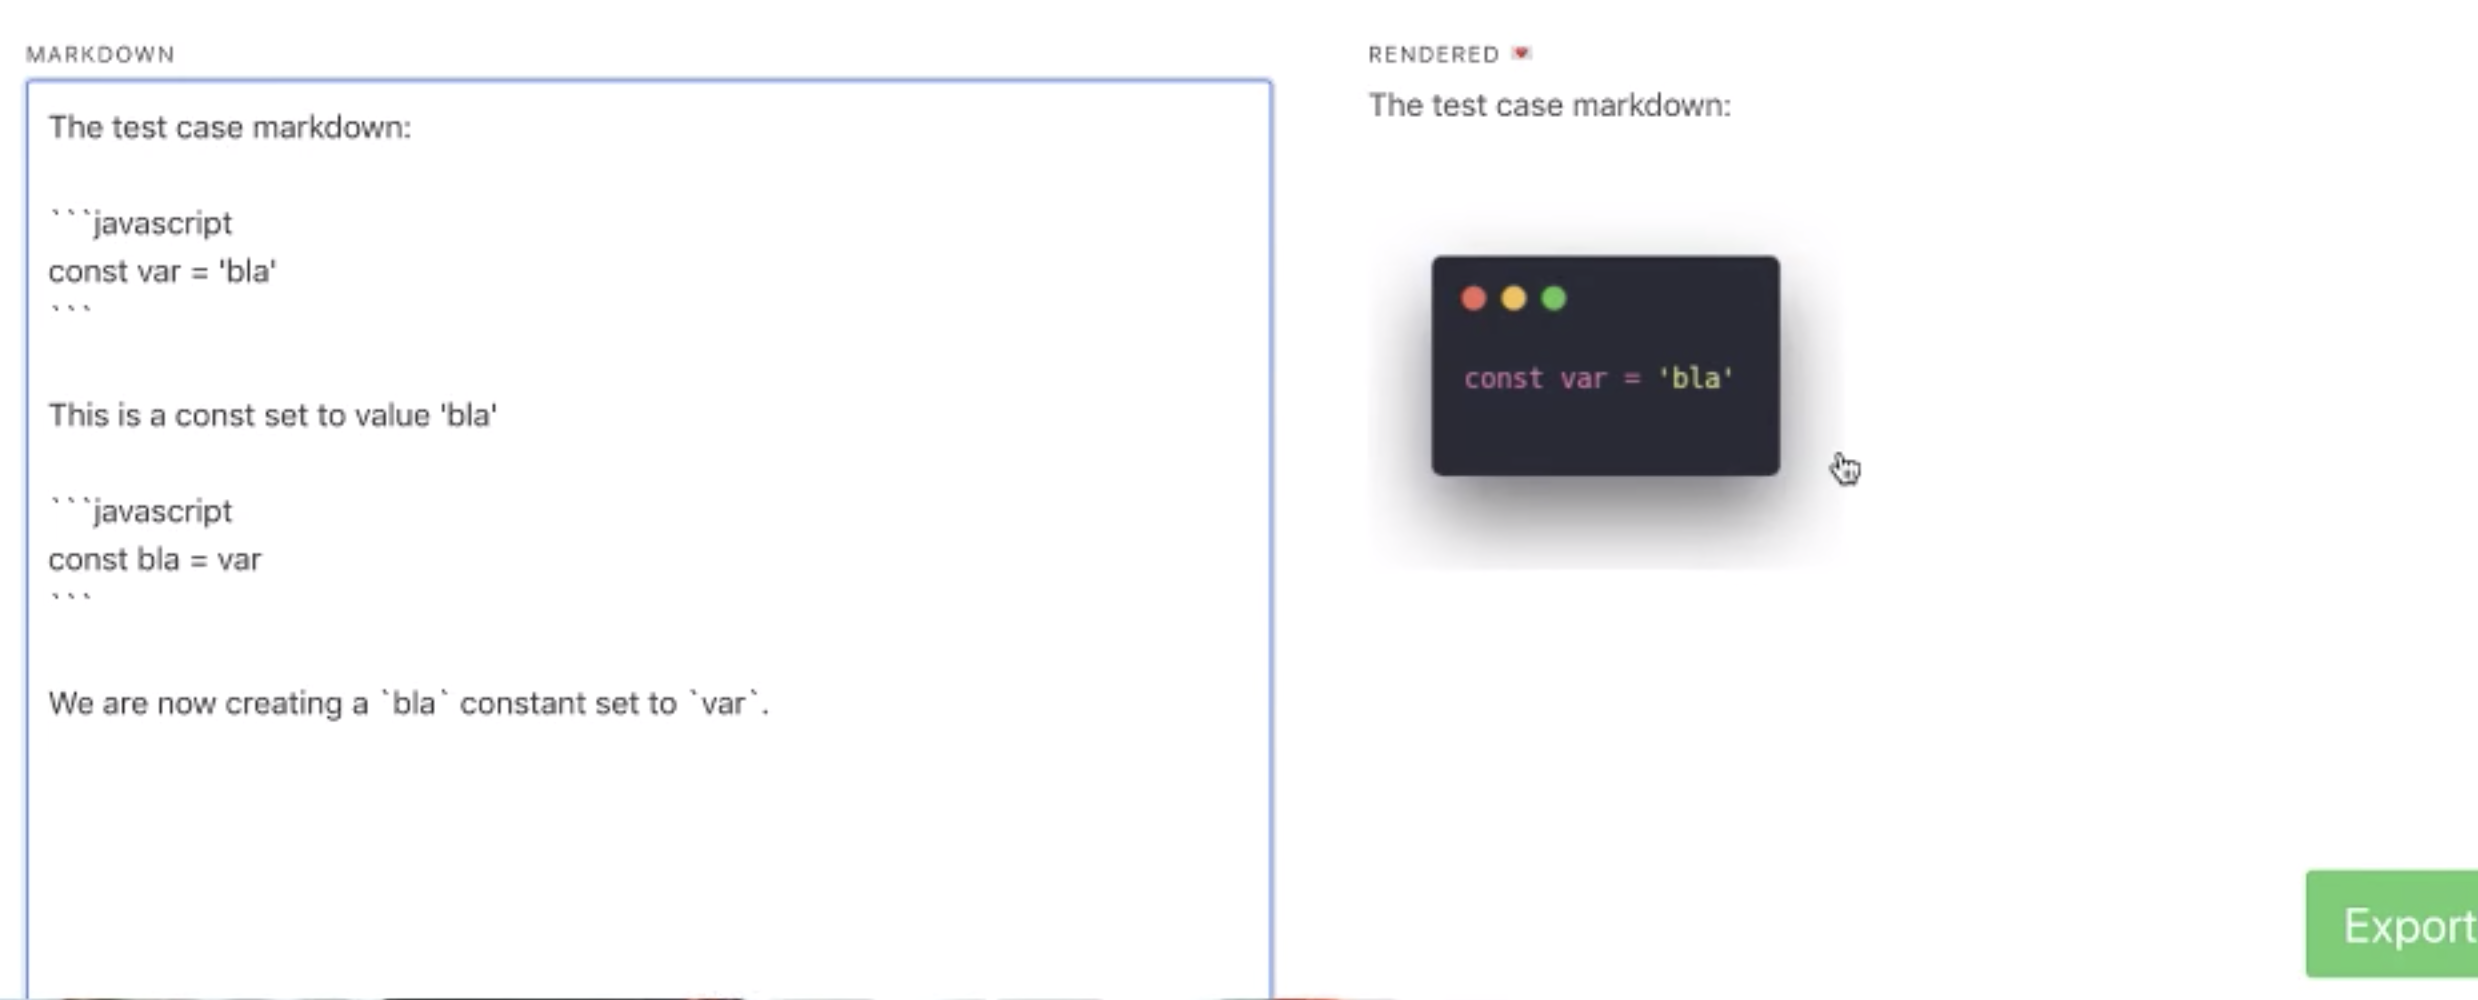
One of the tools that helps me do that is TechLetterApp. Takes my Markdown and turns code, youtube links, and tweets into screenshots. Makes them work in email :)
But TechLetterApp had a terrible bug.
Code blocks would eat each other. Linking to Twitter usernames with an @ corrupted the output. Image links got confused as well. [![]()]().
Basically, the Markdown parser was shit.
I was using Showdown. Worked great for simple stuff, broke down on the hard stuff.
Maybe my regex-based extensions broke it.
Or the fact that it used Regex to render Markdown, which is not a regular language. Same problem as using Regex to parse HTML. You can't
Either way, the solution was a rewrite to Remark
Now TechLetterApp works great.
Time to add more Markdown extensions 😛
Build your own Markdown extension
You need 3 ingredients to build your own custom Markdown extension.
- A Remark plugin that creates a custom node type
- A HAST handler that knows how to use it
- A renderer that allows custom HAST handlers
I built a Markdown extension that understands YouTube and Twitter links as a special screenshot node.
We'll use that to talk about how to build a Markdown extension. You could use the same approach to create completely new Markdown syntax.
1. A Remark plugin
Remark is a Markdown parser/compiler that uses plugins to do its thing.
I've written about How to build a Remark plugin to supercharge your static site before. Here's the process in a nutshell:
- Remark parses Markdown to an AST (abstract syntax tree)
- Remark then uses the visitor pattern to run plugins in sequence on each node
- Plugins transform nodes to new or different nodes
That 3rd part is what we're building 👉 a method that takes a node object and transforms it to a different node object.
My link-to-screenshot plugin looks like this:
import visit from "unist-util-visit"
import Url from "url-parse"

function getScreenshotUrl(url) {
  return `https://84wz7ux5rc.execute-api.us-east-1.amazonaws.com/default/screenshot-as-a-service-dev-screenshot-function?url=${url}`
}

function remarkUrlThumbnail({ domains = [] }) {
  return (tree) =>
    new Promise(async (resolve, reject) => {
      const nodesToChange = []
      visit(tree, "link", (node) => {
        const url = new Url(node.url)
        const thumbnailable = domains.some(
          (d) => url.hostname.replace("www.", "") === d
        )

        if (thumbnailable) {
          nodesToChange.push({
            node,
          })
        }
      })
      for (const { node } of nodesToChange) {
        node.type = "screenshot"
        node.url = getScreenshotUrl(node.url)
        node.link = node.url
      }

      resolve()
    })
}

export default remarkUrlThumbnail
34 lines of prettified code in total. Lemme explain :)
import visit from "unist-util-visit"
import Url from "url-parse"
We use the visit util from unist utils to help us visit specific nodes. Easier than writing our own recursion-based tree-crawling code.
That's the stuff of whiteboard interviews and I never want to do it myself in real life. Too hard.
We use Url to parse URLs. You could write a regex for it and that's fraught with dangers. Let someone else deal with the edge cases :)
function getScreenshotUrl(url) {
  return `https://84wz7ux5rc.execute-api.us-east-1.amazonaws.com/default/screenshot-as-a-service-dev-screenshot-function?url=${url}`
}
getScreenshotUrl is a helper method that takes a URL and returns a URL based on my screenshot-as-a-service AWS Lambda. It knows how to take screenshots and make thumbnails of various types of sites.
I should write about how that works some time 🤔
function remarkUrlThumbnail({ domains = [] }) {
  return (tree) =>
    new Promise(async (resolve, reject) => {
      const nodesToChange = []
      visit(tree, "link", (node) => {
        const url = new Url(node.url)
        const thumbnailable = domains.some(
          (d) => url.hostname.replace("www.", "") === d
        )

        if (thumbnailable) {
          nodesToChange.push({
            node,
          })
        }
      })
      for (const { node } of nodesToChange) {
        node.type = "screenshot"
        node.url = getScreenshotUrl(node.url)
        node.link = node.url
      }

      resolve()
    })
}
remarkUrlThumbnail is the work horse here. Split into two parts.
First it finds all the candidate nodes. Then it changes them.
We visit() every link node, those are URLs, and check if they fit a list of domains that we want to thumbnailify. List comes from config, I'll show you in a bit.
Each match is pushed to a nodesToChange array.
Then we loop through the array with a for loop and change each node type to a screenshot, define the new url, and keep the old one in link.
You can add any property you might need here. The world is your oyster and the node is but a JavaScript object for you to play with.
2. A HAST handler
Ok so you have a new type of node: screenshot. Now what?
Most Remark renderers, like remark-react which renders to React, and remark-html which renders to HTML, use an intermediate layer called HAST – HTML Abstract Syntax Tree.
HAST takes a Markdown AST and turns it into an HTML AST. Goes from link and bold and quote nodes to a and b and blockquote. That sort of thing.
But it won't know what to do with screenshot. It's not a node type that HAST recognizes.
You can fix that with a HAST handler. Like this
const screenshotHandler = (h, node) => {
  const props = { node }

  return h(node, "screenshot", props)
}
screenshotHandler is a function that takes an h function and a node as its arguments. h is short for createElement in the AST rendering world.
No I don't know why h, but everyone from React, to Preact, and Vue uses it. They all have their own implementation. The particular implementation you get depends on which Remark renderer you're using.
This is your chance to create elements with the correct props, types and children.
Because I'm using remark-react, I kept my node type as screenshot and gave it the node itself as props. You might want to use this opportunity to construct a more proper HTML tree.
3. A renderer
I'm using remark-react. It takes a markdown AST and transforms it to a tree of React components for easy rendering in React apps. No dangerouslySetInnerHTML mess here. ✌️
Another trick that remark-react enables is using custom React components to render custom HAST nodes.
So I built a <Screenshot> component.
import React, { useState, useEffect } from "react"

function Screenshot({ node }) {
  const [image, setImage] = useState("/lg.pink-pig-ajax-loader.gif")

  useEffect(() => {
    ;(async () => {
      try {
        const res = await fetch(node.url),
          url = await res.text()

        setImage(url)
      } catch (e) {
        setImage("/undraw_warning_cyit.png")
      }
    })()
  }, [node])

  return (
    <a href={node.link} target="_blank" rel="noopener noreferrer">
      <img src={image} style={{ maxWidth: 480 }} alt={node.value} />
    </a>
  )
}

export default Screenshot
Takes an AST node as its prop and returns a linked image. At first the image is a gif spinner, then it turns into a screenshot.
useState keeps track of the current image URL. useEffect runs a fetch request talking to my screenshot lambda.
Putting it all together
The final step in the puzzle is putting all this together. You'll need some way to intake markdown and somewhere to put the output.
Transforming from markdown to your output looks like this
import remark from "remark"
import remark2react from "remark-react"
import urlThumbnail from "./remarkUrlThumbnail"
import Screenshot from "../Screenshot"

export const remarkCompile = (input) =>
  new Promise((resolve, reject) => {
    remark()
      .use(urlThumbnail, {
        domains: ["m.twitter.com", "twitter.com", "youtube.com", "youtu.be"],
      })
      .use(remark2react, {
        sanitize: false,
        remarkReactComponents: {
          screenshot: Screenshot,
        },
        toHast: {
          handlers: {
            screenshot: screenshotHandler,
          },
        },
      })
      .process(input, (err, output) => {
        if (err) {
          reject(err)
        } else {
          resolve(output)
        }
      })
  })
We have a remarkCompile function that takes an input, which is markdown, and returns a promise. Promise resolves with the final output, or rejects with an error.
Inside our promise, we instantiate remark() and feed it a series of plugins via use() calls. First our urlThumbnail plugin, then the remark2react renderer.
You can put as many plugins as you want in between.
Second argument you pass into use() goes into your plugin as a function argument. That's how we pass a list of domains to urlThumbnail and a bunch of config to remark2react.
.use(remark2react, {
        sanitize: false,
        remarkReactComponents: {
            screenshot: Screenshot
        },
        toHast: {
            handlers: {
                screenshot: screenshotHandler
            }
        }
    })
We have to tell remark2react to avoid sanitizing our HAST because we're using custom nodes. The screenshot node.
remarkReactComponents lets us define mappings from HAST nodes to React components. This is where you'd render links or images or whatever with a custom component. It's also where we say that screenshots render as <Screenshot>.
handlers is where we list custom HAST handlers. Telling it how to take a custom markdown node and transform it to a custom HTML node.
And that's how you build a custom Markdown extension for your webapp. In a nutshell.
Happy hacking 🤓
Filed under: Front EndTechnical