Using scopes for elegant JAMStack permissions

About a month ago I wrote about Adding granular role-based access to your JAMStack app. That worked okay.
Use something like useAuth to authenticate users, add some roles, then check those roles in your app. Often at the main <Layout> level.
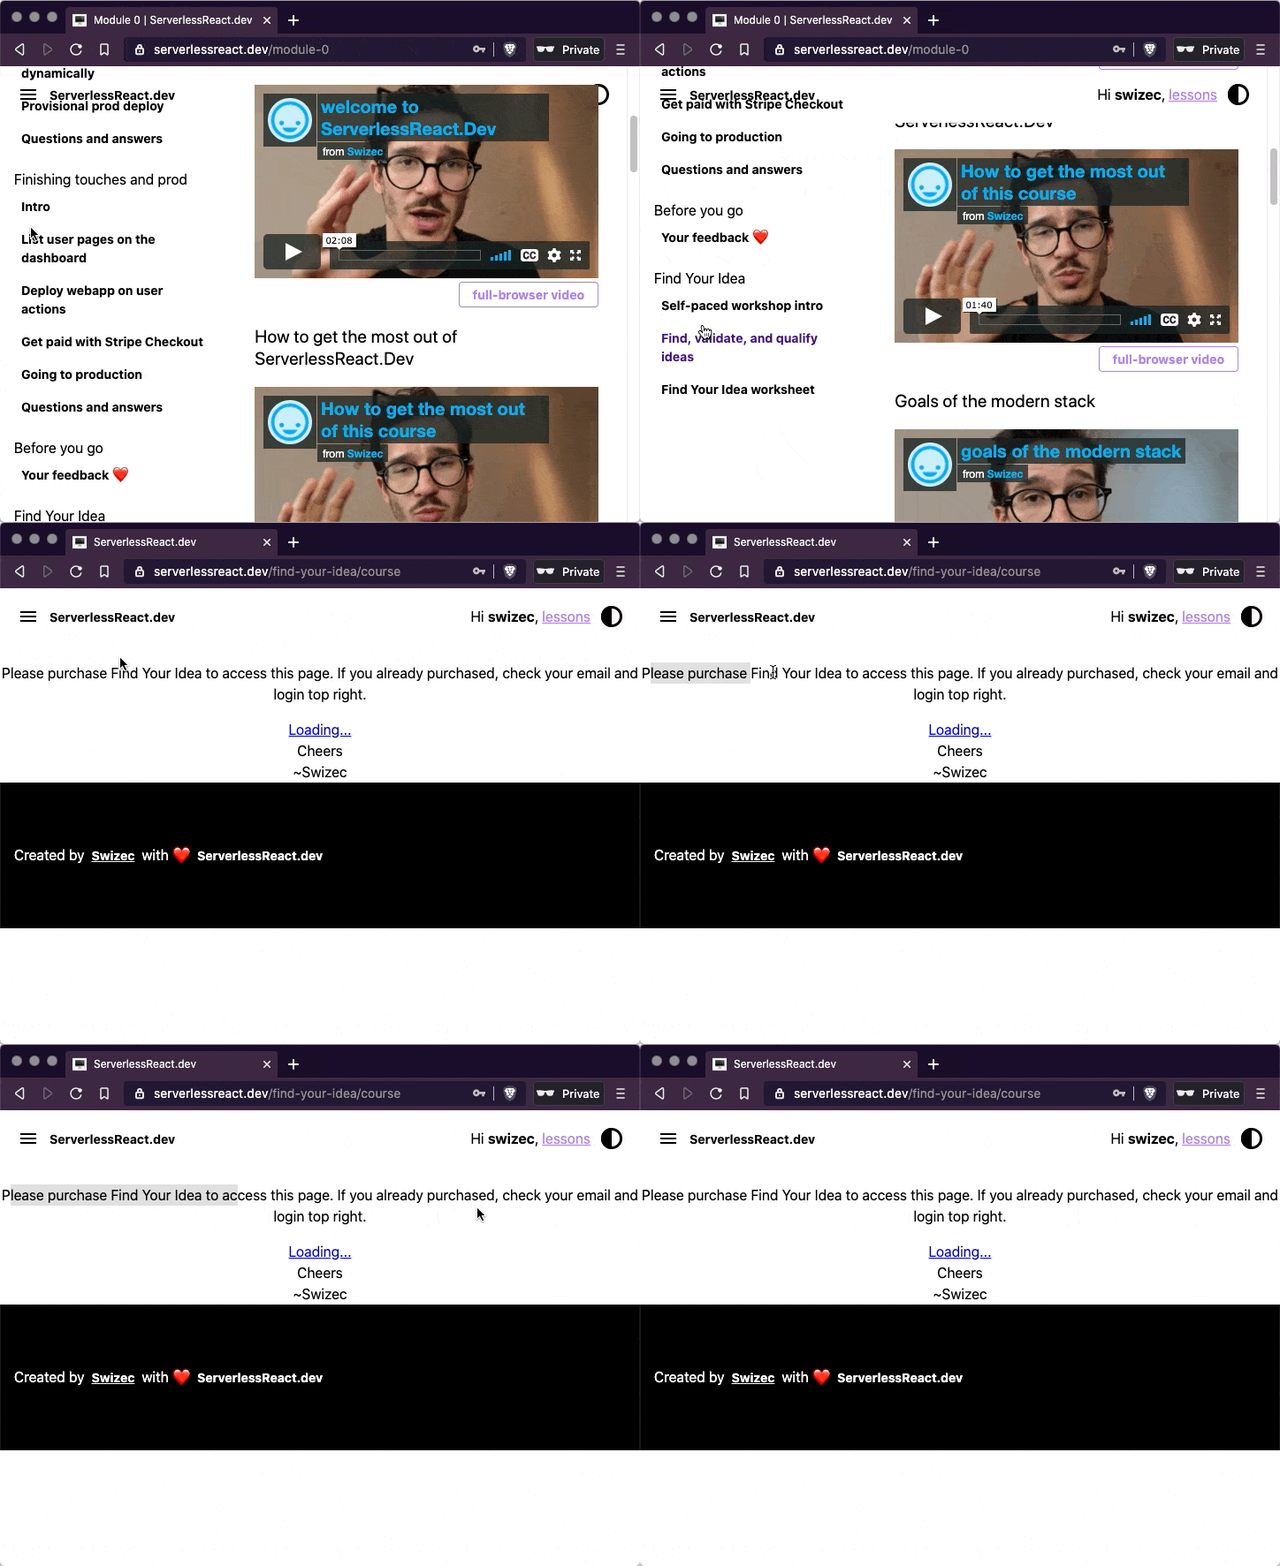
You get an app that sometimes asks for additional permissions.
But this approach had 2 warts:
- Lots of people mentioned that scopes in practice scale better than roles
- You needed this gnarly code somewhere in your app
const LockedContent = (props) => {
  const allowUnauth = UNAUTH_PAGES.includes(currentLocation(props))
  const { isAuthorized, isAuthenticated } = useAuth()

  if (!allowUnauth && !isAuthenticated()) {
    // not even logged in, ask for login
    return <PleaseLogin />
  } else {
    if (isFindYourIdeaPage(props)) {
      if (isAuthorized("FindYourIdea")) {
        // FindYourIdea page, access -> show
        return <Content {...props} />
      } else {
        // FindYourIdea page, no access -> buy
        return <PleasePurchase findYourIdea />
      }
    } else if (isAuthorized("Student")) {
      // ServerlessReactDev page, acces -> show
      return <Content {...props} />
    } else if (allowUnauth) {
      // no auth required -> show
      return <Content {...props} />
    } else {
      // ServerlessReactDev page, no access -> buy
      return <PleasePurchase />
    }
  }
}
Scopes bring more elegance
Wanted to use this approach for my React for Dataviz course, which has 3 tiers on top of free stuff, and my head began to spin. No way this was gonna work. 😅
I set out to find a better way:
And I found one! Scopes.
A scope is no different than a role – a string attached to the user. The semantics of scopes are different though.
Instead of answering "Who is this user?" a scope answers "What can this user do?". Small difference, big impact.
And when you move permission checking to the router-level, the result is quite elegant. I think.
Haven't tried it with NextJS, with Gatsby you'd do something like this 👇
1. wrap the root of your tree
Permission-checking happens as high up in your component tree as possible. For Gatsby that's the wrapPageElement method. I use the same method for gatsby-ssr and gatsby-browser.
export const wrapPageElement = ({ element, ...props }) => (
  <AuthProvider
    navigate={navigate}
    auth0_domain="serverlessreactcourse.auth0.com"
    auth0_client_id="..."
    auth0_params={{
      scope: "openid profile email user_metadata",
    }}
    customPropertyNamespace="https://serverlessreact.dev"
  >
    <MyRouter element={element} {...props} {...props.props} />
  </AuthProvider>
)
Wrap everything in useAuth's <AuthProvider> then render the <MyRouter> component making sure to pass the element and all props.
2. a simple router
Next you need a router to map paths to components. Gatsby comes with reach/router built-in so that seems like a good choice.
Unfortunately I couldn't get it to work reliably. Kept matching incorrect routes. The integration isn't as tight as I hoped.
But that's okay. Turns out building your own basic router isn't so hard.
Here's mine:
const MyRouter = ({ element, ...props }) => {
  const scopedPages = Object.keys(SCOPE_PAGE_MAP)
  const scopedKey = scopedPages.find((page) => minimatch(props.path, page))

  if (scopedKey) {
    return (
      <ScopedRoute
        element={element}
        scopes={SCOPE_PAGE_MAP[scopedKey]}
        {...props}
      />
    )
  } else {
    return <Default element={element} {...props} />
  }
}
We use a SCOPE_PAGE_MAP that maps glob'd locations to their scopes. Use the minimatch library to find a matching path.
If path is found, render <ScopedRoute>, otherwise render <Default>.
The SCOPE_PAGE_MAP is a long list like this:
const SCOPE_PAGE_MAP = {
  "/introduction/*": ["RDV_Basic", "RDV_Full", "RDV_AllExtras"],
  "/building-blocks/*": ["RDV_Basic", "RDV_Full", "RDV_AllExtras"],
  "/d3-quick-intro/*": ["RDV_Basic", "RDV_Full", "RDV_AllExtras"],
  "/react-d3/*": ["RDV_Basic", "RDV_Full", "RDV_AllExtras"],
  "/animation/*": ["RDV_Full", "RDV_AllExtras"],
  "/ball-game/*": ["RDV_Full", "RDV_AllExtras"],
  // ...
This part is tedious. Thinking of ways to move this info into MDX frontmatter that you can query with GraphQL.
Perhaps an idea for a Gatsby plugin 🤔
3. Default route
Now that you're mapping routes to components, you need those components :)
The <Default> component/route can be simple:
const Default = ({ element, ...props }) => (
  <Layout authenticated={false} authorized={false} fullwidth={true} {...props}>
    {element}
  </Layout>
)
Tells the layout that you're not authenticated, not authorized, and in my case to render the page fullwidth without the sidebar.
The <Layout> could check for this stuff with useAuth but it's cleaner to just tell it. "Hey, show extra buttons for authorized users"
4. scoped route
<ScopedRoute> is the bread and butter of this approach. And unlike my previous attempt, it's not gnarly at all ✌️
export const ScopedRoute = ({ scopes, element, ...props }) => {
  const { isAuthenticated, isAuthorized } = useAuth()

  if (isAuthorized(scopes)) {
    return (
      <Layout authorized={true} fullwidth={false} {...props}>
        {element}
      </Layout>
    )
  } else if (isAuthenticated()) {
    return (
      <Layout authorized={false} fullwidth={true} {...props}>
        <PleasePurchase />
      </Layout>
    )
  } else {
    return (
      <Layout authorized={false} fullwidth={true} {...props}>
        <PleaseLogin />
      </Layout>
    )
  }
}
Hook into user state with useAuth and render different pages when they're authenticated, authorized, or unknown.
Flags in <Layout> change some UI features and the child element being {element} – the MDX content – or purchase/login specifies the core of the page.
And that's how you get elegant scope-based permissions in your JAMStack app ✌️
Happy Monday
Cheers, ~Swizec
PS: scopes get into your users the same way roles do. You add them through the Auth0 API or UI and use a bit of Auth0 JavaScript to inject it into user properties on every request.
Filed under: FrontendTechnical